Configure a Tru-Test SRS2 Scanner
Question: How do I configure my Tru-Test SRS2 RFID scanner?
Answer: Use the steps below to configure a Tru-Test SRS2 RFID scanner.
The Tru-Test SRS2 RFID scanner is a portable hand-held device that allows you to quickly read, record, and transfer EID tag information for the animals in your herd.

Before you connect the Tru-Test SRS2 RFID scanner, download the latest firmware from the Tru-Test website.
The display is not a touchscreen. You can navigate to options using the Arrow buttons.
![]()
To select an option, press the Scan button.

To return to a previous menu, press the Return button.

Follow the steps below to configure a Tru-Test SRS2 RFID scanner:
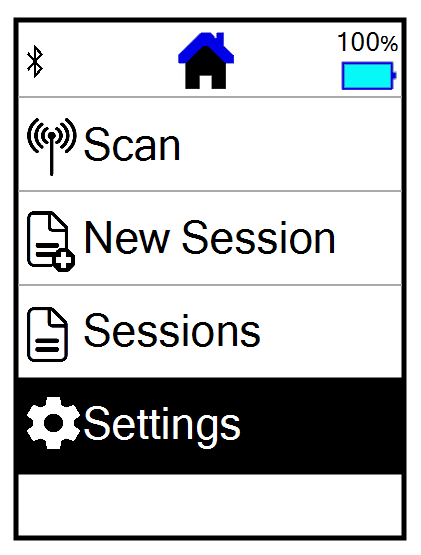
- Use the Arrow buttons to navigate and press the Scan button to select Settings.

-
Select General.

-
 Set the date and time.
- Select Date/Time.

- Select the current Date, Month, and Year.

- Set the Format to MM/DD/YYYY.

- Set the Hour and Minute time settings for your time zone.NOTE: Time settings are in military time.
- Press the Return button to return to the General menu.
- Select Date/Time.
-
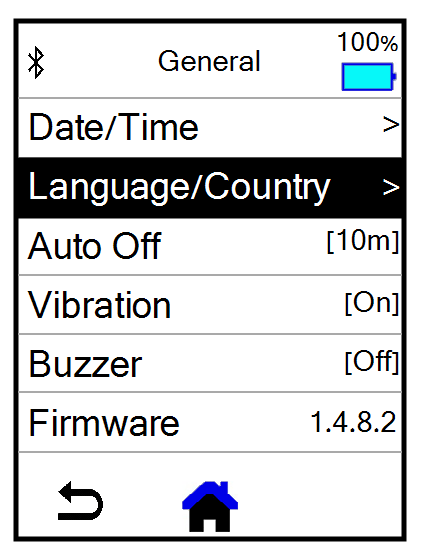
Set the language and country.
- Select Language/Country.

- Set Language to English.

- Select your Country.
- Press the Return button to return to the General menu.
- Select Language/Country.
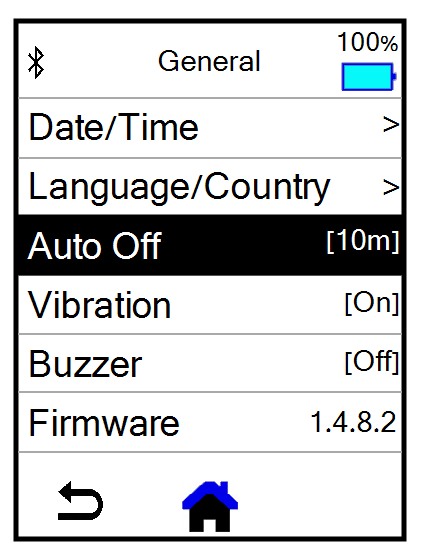
- Set Auto Off to 10m.

- Press the Return button to return to the General menu.
- Set Vibration to On.

- Press the Return button to return to the General menu.
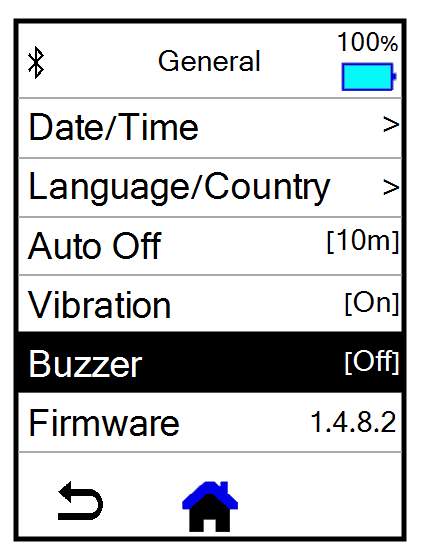
- Set Buzzer to Off.

- Press the Return button to return to the General menu.
- Press the Return button to return to the Settings menu.
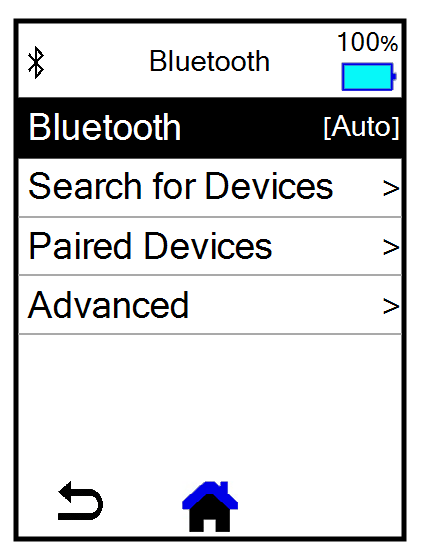
- Select Bluetooth.

- Set Bluetooth to Auto.

-
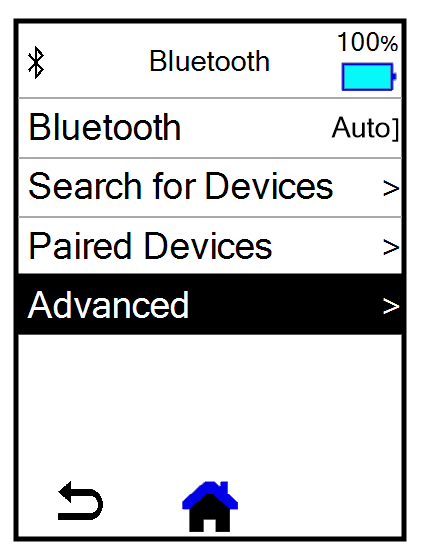
Set advanced Bluetooth features.
- Select Advanced.

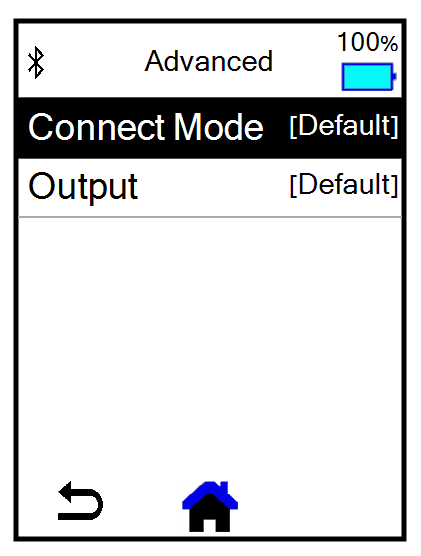
- Set Connect Mode to Default.

-
Set Output to Default.

- Press the Return button to return to the Settings menu.
- Select Advanced.
- Press the Return button to return to the General menu.
- Press the Return button to return to the Settings menu.
-
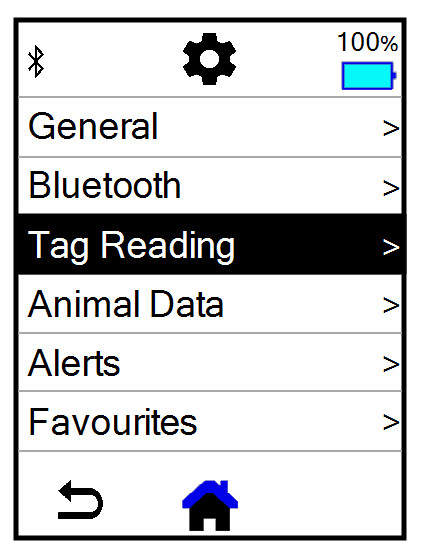
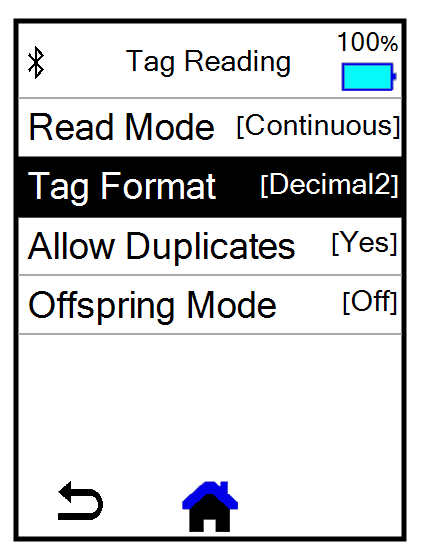
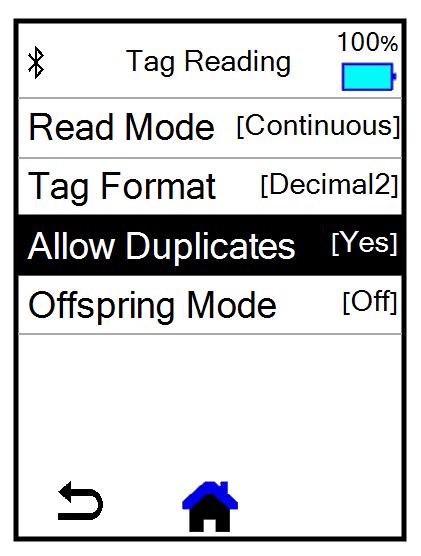
Set tag reading features.
- Select Tag Reading.

- Set Read Mode to Continuous.

- Set Tag Format to Decimal2.

- Set Allow Duplicates to Yes.

- Press the Return button to return to the General menu.
- Select Tag Reading.